Automating communication and data handling is key to any modern web application, and that’s precisely what we did with our recent project on Wix Velo. In this article, I’ll take you through how we created a form that only becomes available when a user finishes watching a video, and how we then automated sending an email notification with form data to different agents, depending on who interacted with it. We’ll cover handling dynamic data, managing video-based interactions, and leveraging SendGrid for email delivery.
Challenge: Interactive Form Visibility and Data Capture
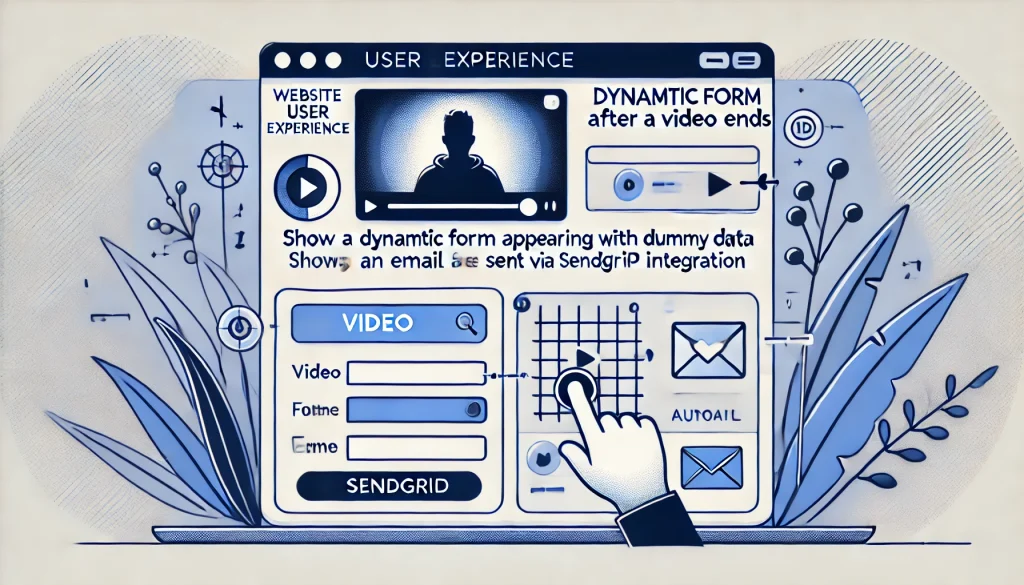
The core idea was to have a form that remains hidden initially, then reveals itself after the user completes watching a video. Once visible, the user could fill out the form, and upon submission, an automated email would be sent to a designated agent.
This posed several challenges:
- Dynamic Form Visibility – Ensuring the form is only available after the user engages with the content.
- Collecting Data Efficiently – Extracting and utilizing form data dynamically.
- Automated Notification – Sending an email notification to the correct recipient based on the form input.
We solved these challenges step-by-step using Wix Velo, JavaScript, and SendGrid.
Step 1: Controlling Form Visibility with Wix Velo
The first step was to control the visibility of the form. Using Wix Velo’s $w.onReady() method, we set up our webpage so that the form would initially be hidden. Once the user finished watching the embedded video, the form would appear.
Here’s how we accomplished this:
const form = $w("#formElementId");
const videoPlayer = $w("#videoPlayer1");

// Hide the form on page load
form.hide();

// Show the form when the video ends
videoPlayer.onEnded(() => {
    console.log("Video has ended, executing onEnded event.");

    // Delay the form display slightly to create a smooth experience
    setTimeout(() => {
        form.show(); // Make the form visible
        console.log("Form is now visible.");
    }, 500); // 500ms delay to ensure the form is rendered properly
});
This simple piece of code hides the form initially and then triggers it to show after the video ends. It made the form accessible only to engaged users—a great user experience touch that also ensures quality data collection.
Step 2: Capturing and Using Form Data Dynamically
Next, we needed the form to collect data effectively, including dynamically filled fields like the agent name. We used queryParams from wixLocation.query to determine which agent was assigned to handle the form. The agent ID was passed as a query parameter in the URL, and we used a simple switch statement to determine the name and email of the appropriate agent:
let agentValue = "Unknown";
let agentEmail = "";

const queryParams = wixLocation.query; // Capture query parameters

if (queryParams.agent) {
    switch (queryParams.agent) {
        case "1":
            agentValue = "Agent Alpha";
            agentEmail = "alpha@example.com";
            break;
        case "2":
            agentValue = "Agent Beta";
            agentEmail = "beta@example.com";
            break;
        // Additional cases here...
        default:
            console.log("No valid agent parameter found.");
            agentValue = "Unknown Agent";
            agentEmail = "default@example.com";
    }
}
Using these parameters, we populated a hidden field within the form itself with setFieldValues(). This approach not only ensured that we knew which agent was responsible for follow-up but also gave us the flexibility to change agents easily by just altering the URL parameter.
Step 3: Sending Automated Emails with SendGrid
With the data collected, we needed to send an email with the form content to the designated agent once the form was submitted. We leveraged SendGrid as the email service provider. Wix doesn’t natively provide SMTP services for arbitrary email sending, so integrating SendGrid via a backend function was a powerful solution.
Here’s what our backend email-sending code looked like:
Backend Code (combinedEmail.jsw):
import { fetch } from 'wix-fetch';

export async function sendFormContentEmail({ recipient, subject, message }) {
    console.log(`Attempting to send email to: ${recipient}, subject: ${subject}, message: ${message}`);

    const sendGridAPIKey = 'YOUR_SENDGRID_API_KEY'; // Replace with your actual SendGrid API Key
    const url = 'https://api.sendgrid.com/v3/mail/send';

    const headers = {
        'Content-Type': 'application/json',
        'Authorization': `Bearer ${sendGridAPIKey}`,
    };

    const emailData = {
        personalizations: [
            {
                to: [{ email: recipient }],
                subject: subject,
            },
        ],
        from: {
            email: 'youremail@example.com', // Must be a verified sender in SendGrid
        },
        content: [
            {
                type: 'text/plain',
                value: message,
            },
        ],
    };

    try {
        const response = await fetch(url, {
            method: 'POST',
            headers: headers,
            body: JSON.stringify(emailData),
        });

        if (response.ok) {
            console.log(`Email successfully sent from backend to ${recipient}`);
            return { success: true };
        } else {
            const errorData = await response.json();
            console.error(`Error in backend while sending email to ${recipient}:`, errorData);
            return { success: false, error: errorData };
        }
    } catch (error) {
        console.error(`Network error while sending email to ${recipient}:`, error);
        return { success: false, error: error.message };
    }
}
This function sends an email using SendGrid’s API. It takes a recipient email, subject, and message as parameters, which gives us the flexibility to use this for various forms and messages.
Frontend Email Trigger
In the frontend, when the form was submitted, we gathered the field values and sent them to our backend function:
form.onSubmit(() => {
    console.log("Form has been submitted.");

    const formValues = form.getFieldValues(); // Get submitted form values
    let formDetails = '';

    for (const key in formValues) {
        if (formValues.hasOwnProperty(key)) {
            formDetails += `${key}: ${formValues[key]}\n`;
        }
    }

    // Construct and send the email
    const subject = `Notification for Agent ${agentValue}`;
    const message = `Dear ${agentValue},\n\nThe form has been filled out and submitted.\n\nHere are the details:\n\n${formDetails}\n\nBest Regards,\nYour Team`;

    sendFormContentEmail({
        recipient: agentEmail,
        subject: subject,
        message: message,
    })
    .then(response => {
        if (response.success) {
            console.log(`Email successfully sent to ${agentEmail}`);
        } else {
            console.error(`Failed to send email to ${agentEmail}`, response.error);
        }
    })
    .catch(error => {
        console.error(`Failed to send email to ${agentEmail}:`, error);
    });
});
Step 4: UX Improvement – Auto-hide Form Post Submission
Finally, we implemented a smooth UX improvement—auto-hiding the form after submission. This small but important touch allows users to understand that their submission has been processed, providing closure on the action they just took.
// Hide the form a few seconds after submission
setTimeout(() => {
    form.hide(); // Hide the form 3 seconds after submission
    console.log("Form has been hidden after submission.");
}, 3000); // 3 seconds delay before hiding the form
Conclusion
In this project, we tackled several real-world challenges: conditional form display, dynamic data handling, and automated notifications. We used a combination of Wix Velo, JavaScript, and SendGrid to provide a robust, interactive experience to our users.
The use of query parameters allowed us to determine which agent should receive the submitted data, providing both flexibility and scalability. SendGrid proved invaluable for automating the notification process, making sure the right people get the right information at the right time.
Feel free to leverage this approach in your own projects—whether it’s customer interaction automation, marketing follow-ups, or support request submissions. With Wix Velo and a bit of creativity, you can make your website truly responsive to your users’ actions.
Happy coding! ????